Our team was asked to take part in the Adobe Remix project, a showcase of creative interpretations of the Adobe logo.
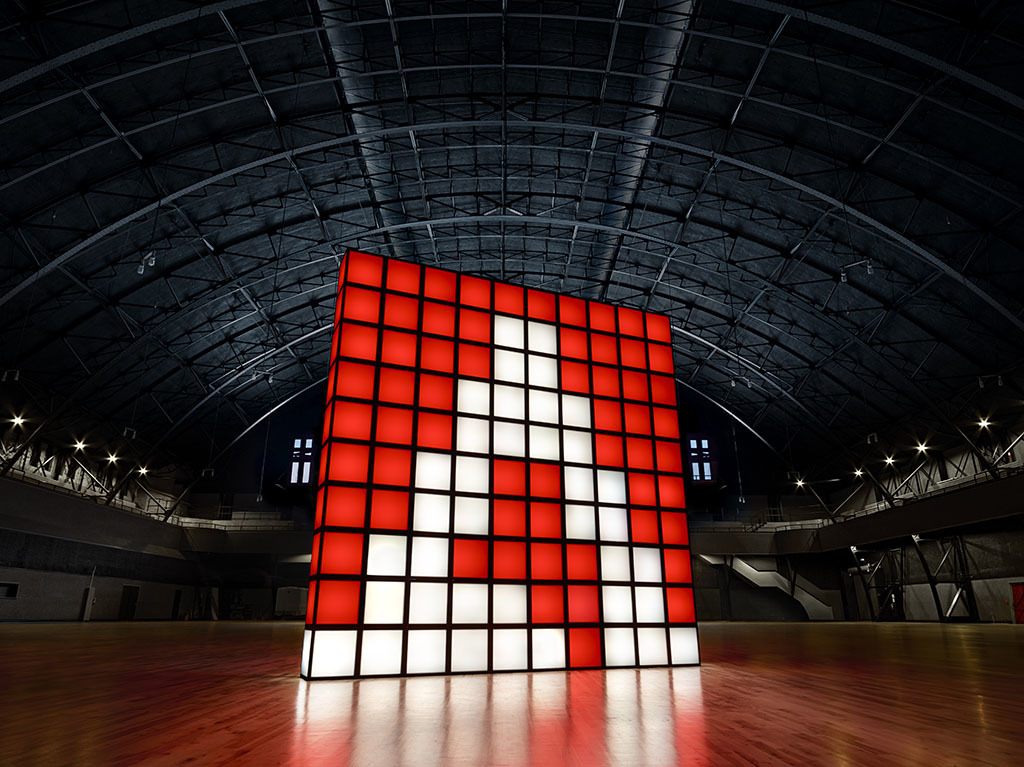
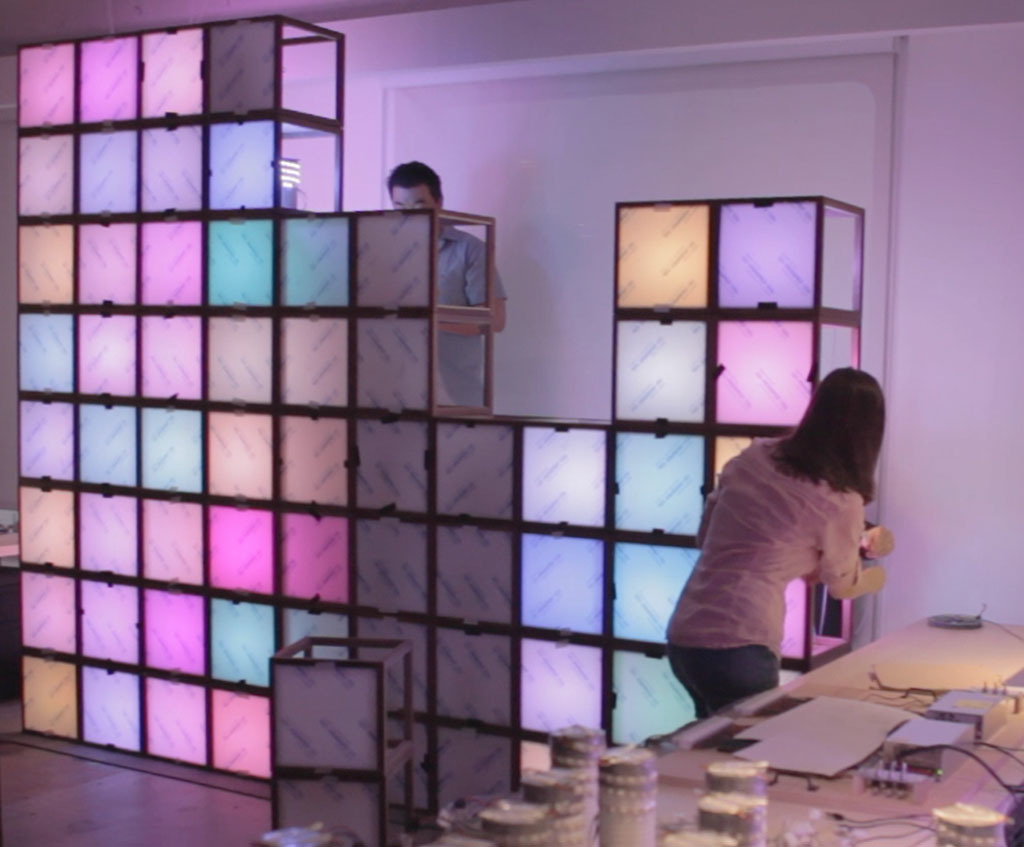
We wanted to highlight the creative activity that adobe products enable. So we re-created Adobe’s logo as a physical installation with 100 handmade cubes, each one correlating to an artist using Adobe software in real time.
Each cube captures a single pixel from an individual artist as they work on their creative projects. “Adobe Lights,” which lives at Adobe’s San Francisco headquarters, brings together physical, digital and interactive elements into one living logo installation.
The Team
The entire beta team participated in this project in one capacity or another. Thanks to Kia and Russell for building the site to display our work. Thanks to Stevie for the design work. Thanks to Chris and Pablo for your amazing ideas. To Marpi for his 3d digital version of the wall. Michael Phillips organized the project beautifully. Kalle fought for us to build it in-house. Finally to Patrick, for your tireless work (physically constructing the wall) and positive attitude throughout, thanks!

My Role
Concept and production.
Technologies
I built the following (Thanks to Patrick Wong for assembling the physical components of the wall!):
- Physical – I designed the electronics to power and connect the wall to realtime data
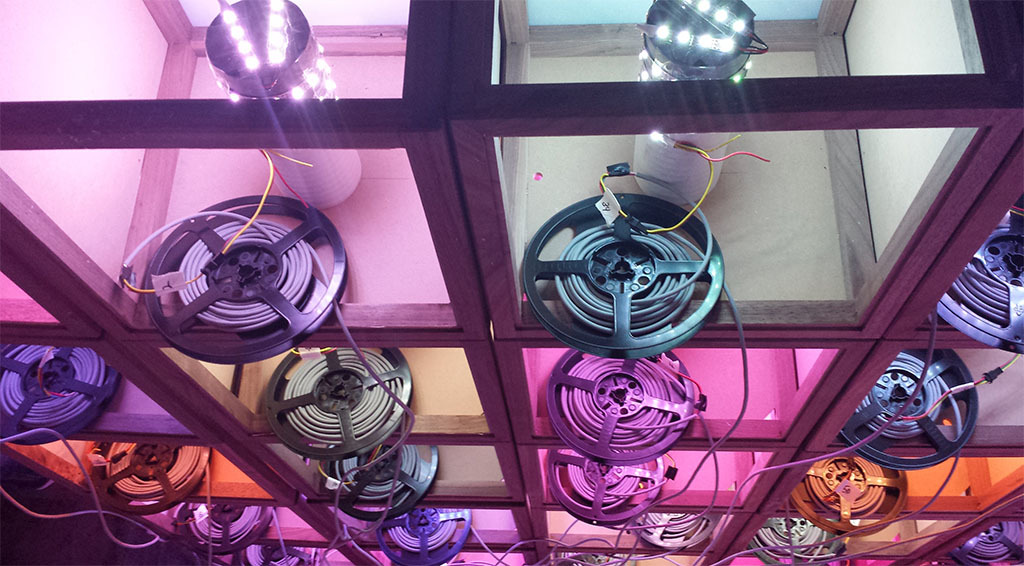
- LEDs – 3000 individually addressable WS2812 LEDs in strips of 60
- 4 X 60 Amp 5V power supplies
- 4 X Arduino Megas
- 1 Mac Mini
- Digital – I designed and built the infrastructure to manage the wall and the following pieces
- Native app that artists can install (runs in the background and broadcasts color information over socket connection to server)
- NodeJS Server (running on amazon Ec2) to receive artist color information, store and provide realtime updates to the wall
- Native App (running on mac mini) to receive color updates over socket from the server, parse updates and send updates (byte level) to arduino megas over usb.
- Custom Arduino mega software to receive updates from mac mini and control LEDs.
The Process
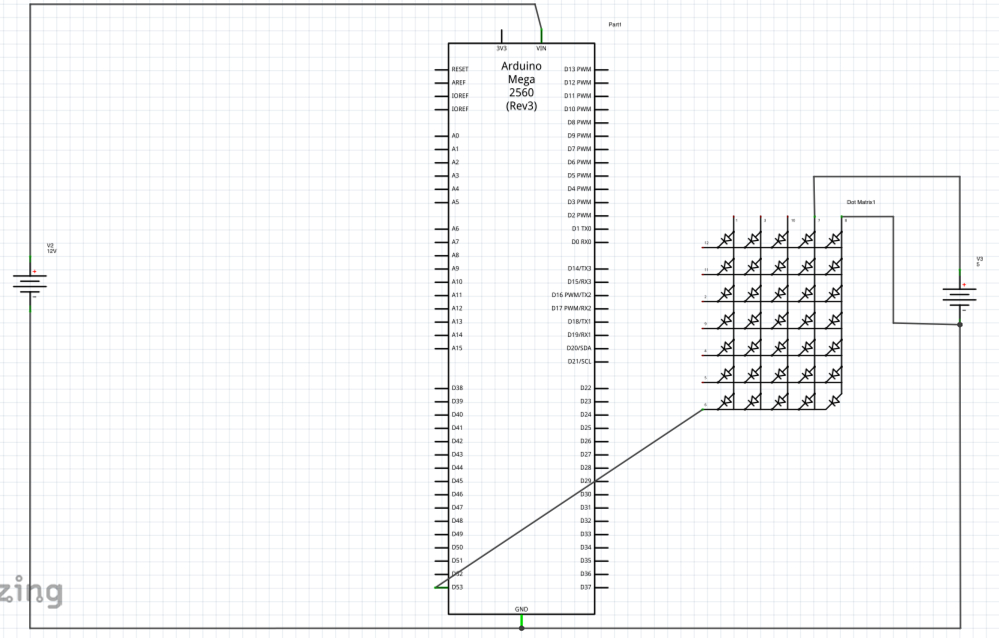
After we knew what we were going to make, I spec’d out exactly what we would need to build it. Because of the timeline, we had to get it right the first time. I wanted to make sure we could update every pixel on the wall (all 3000 leds) at 60 frames per second (I ended up only getting about 45). The power system was designed using fritzing.
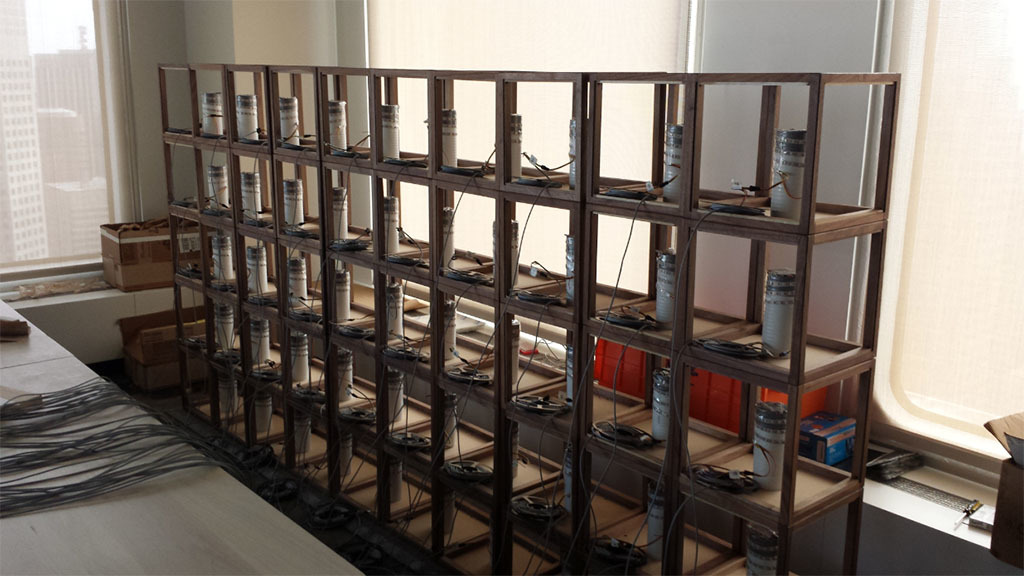
Each cube in the wall had a strip of 30 leds wrapped around a tube sitting in the middle. Each 30 led strip connected to a different signal pin on the arduino mega. The wall itself was split into quadrants, so an individual arduino only controlled 25 cubes at a time. This also made communication over usb realistic.
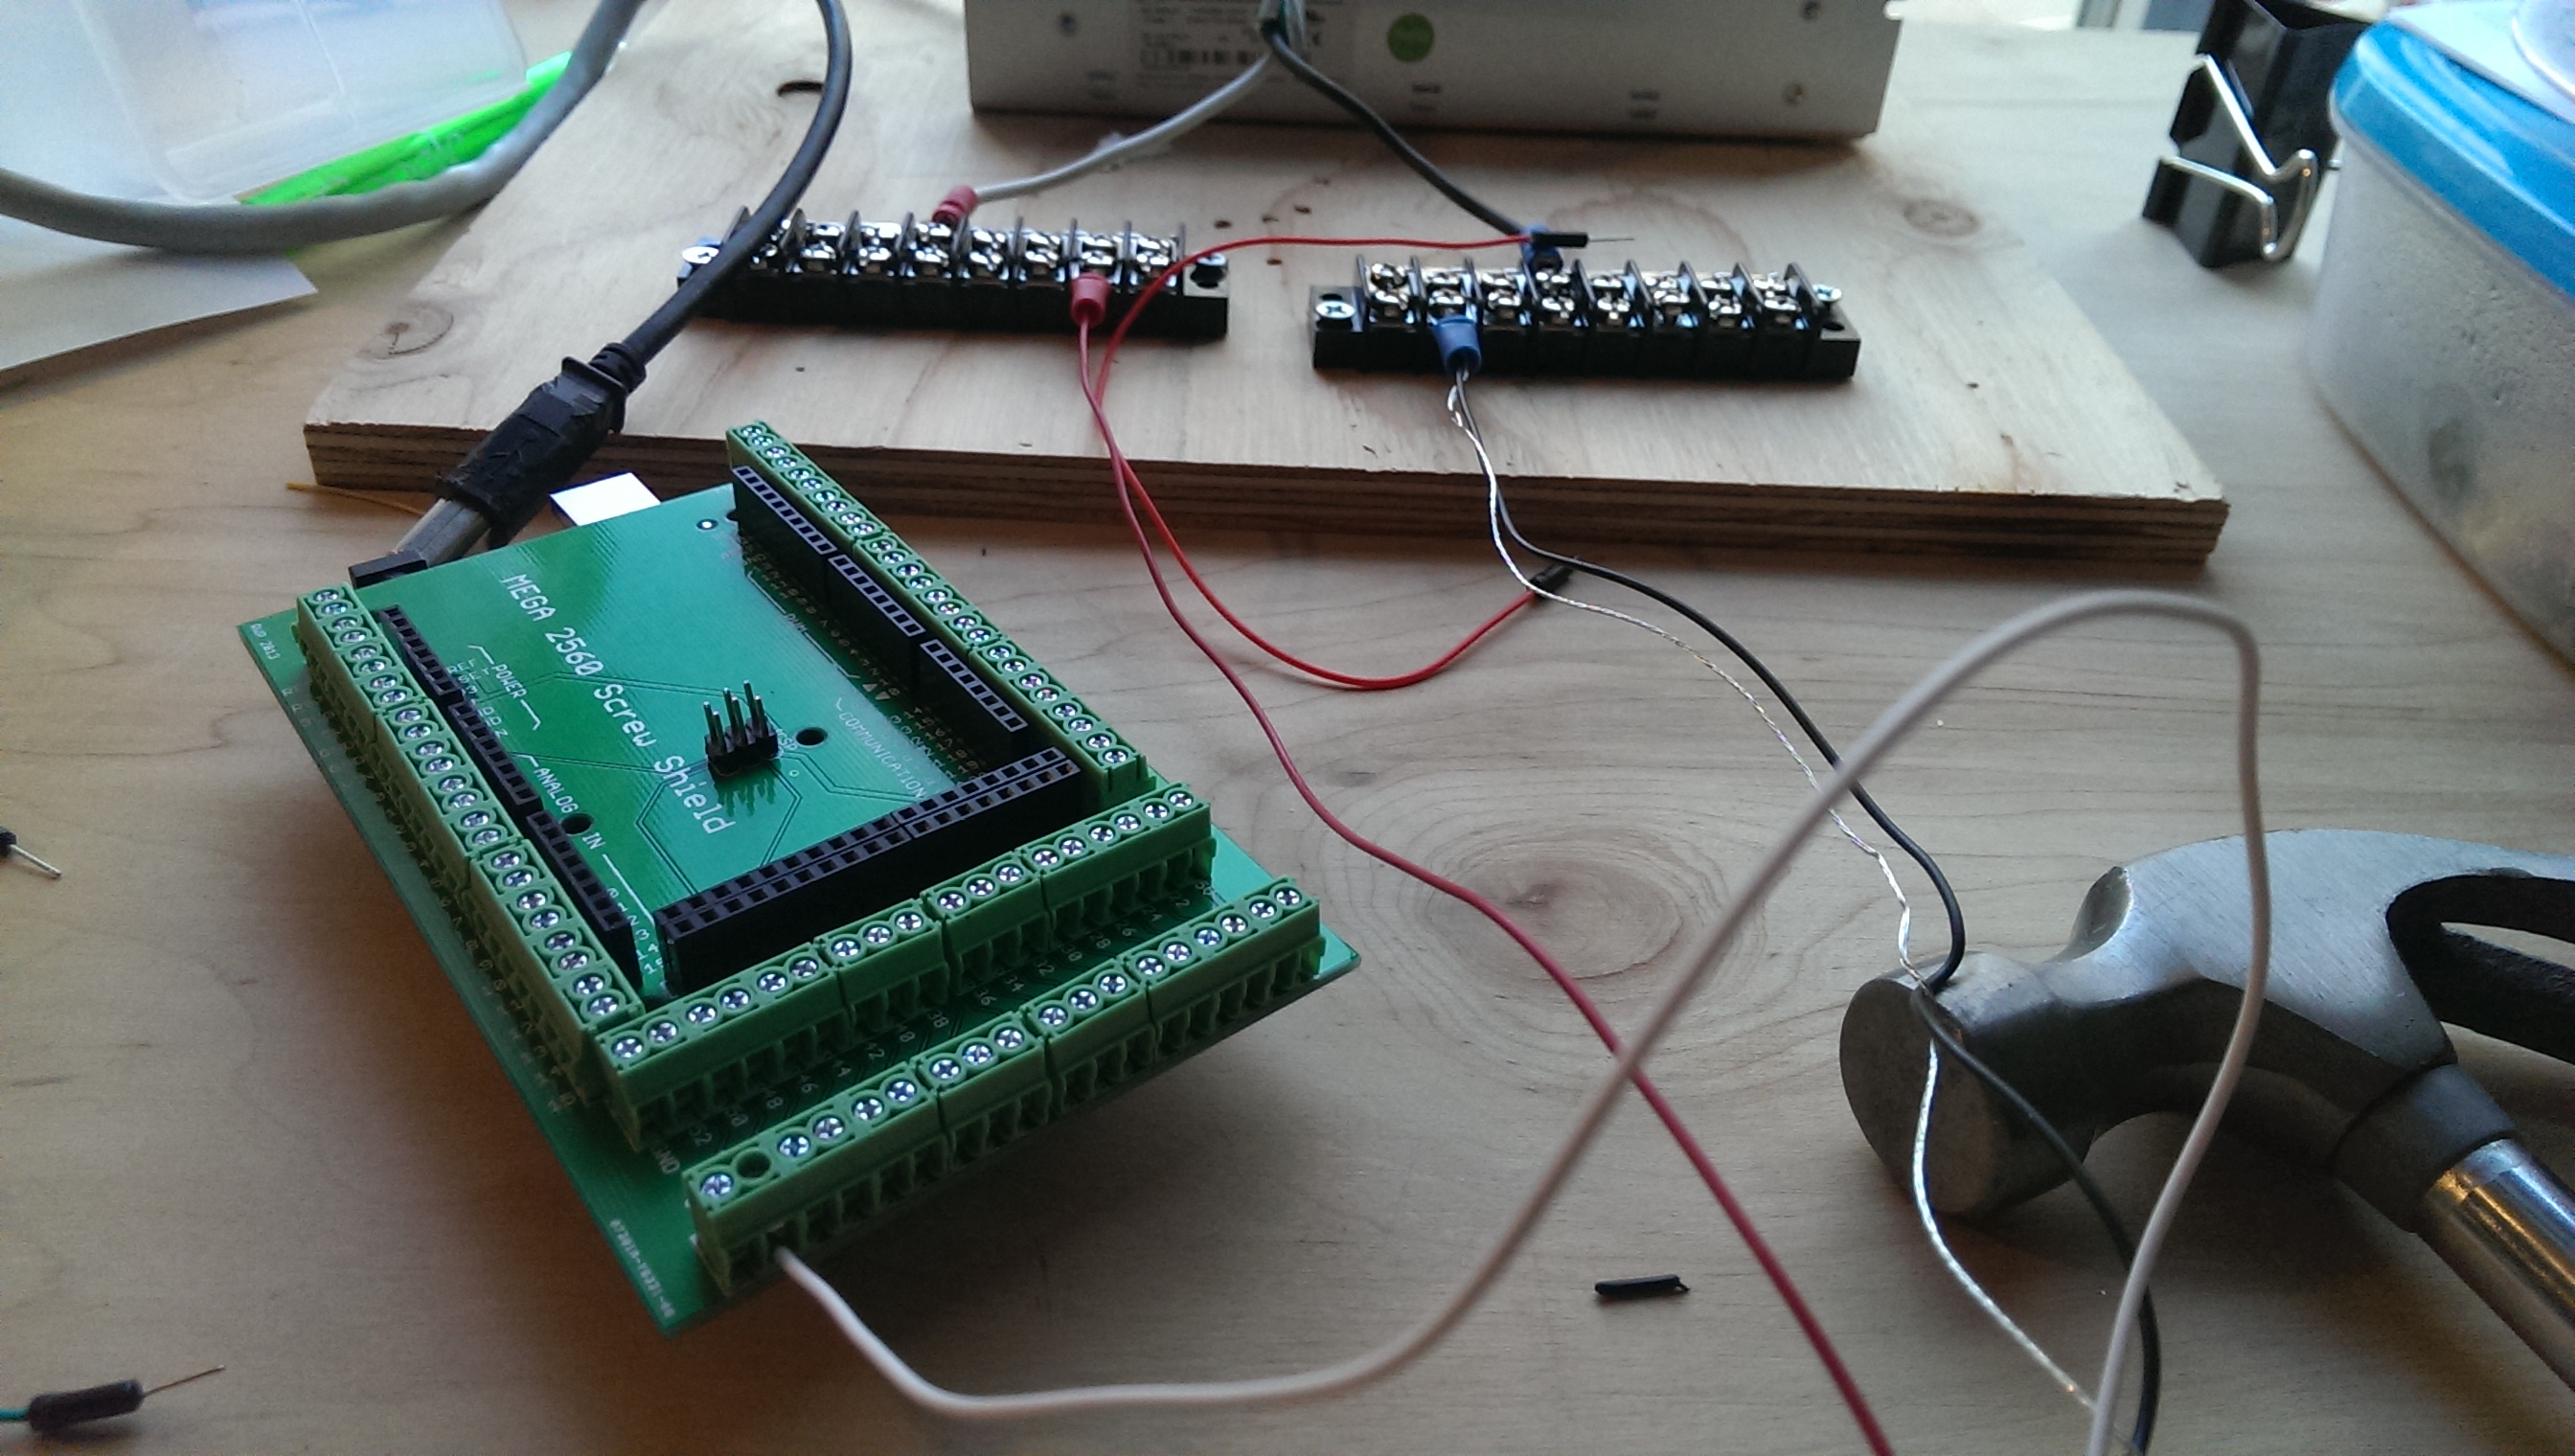
The final power board ended up looking something like this:
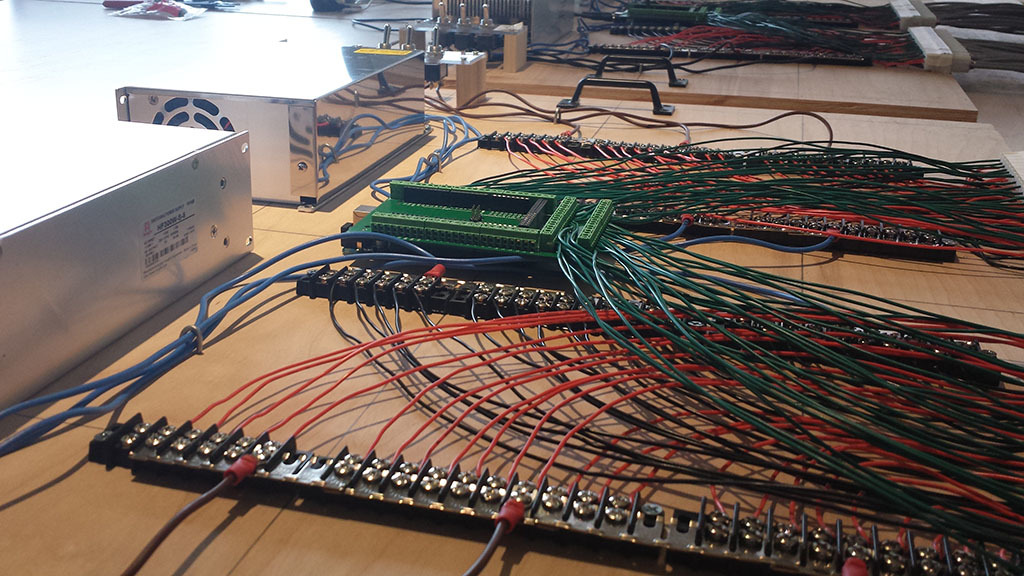
These power boards sat directly behind the wall and fed the lights through individual cables. In theory we could disassemble the entire thing and make whatever new shape we want!
Here’s the wall without the acrylic panels:
Testing the wall:
A view from the back:
And the final product (shot in the armory downtown):