My Room

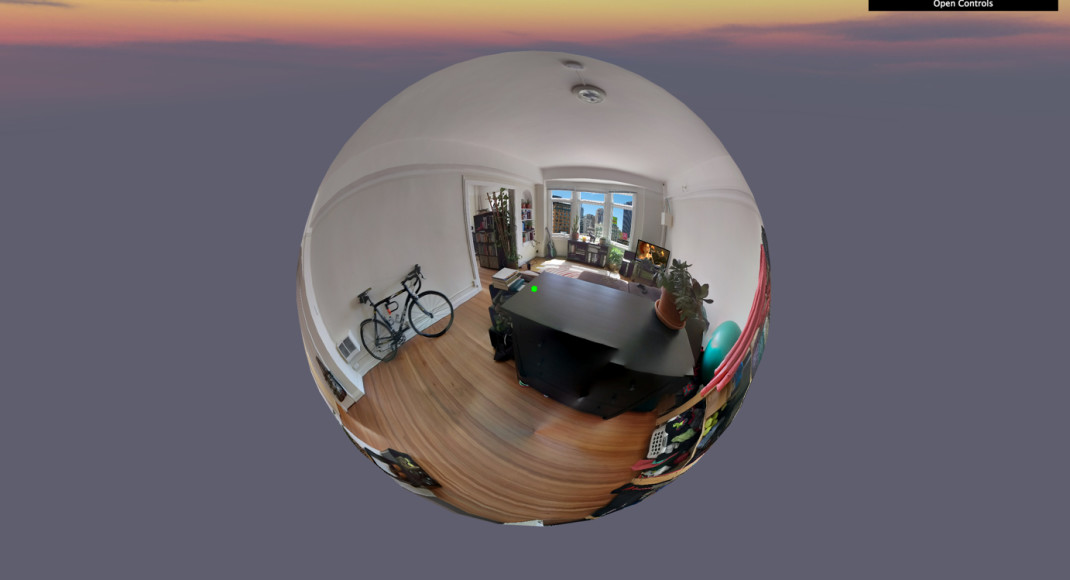
A simple webgl experiment where I cut a hole in my room so I can watch TV. Going to finish this by uploading a movie of battlefield instead of the demo video. Code to come later, but for now check it out. I’m using a boilerplate I put together called BoilerGL.

DEMO

Dark World

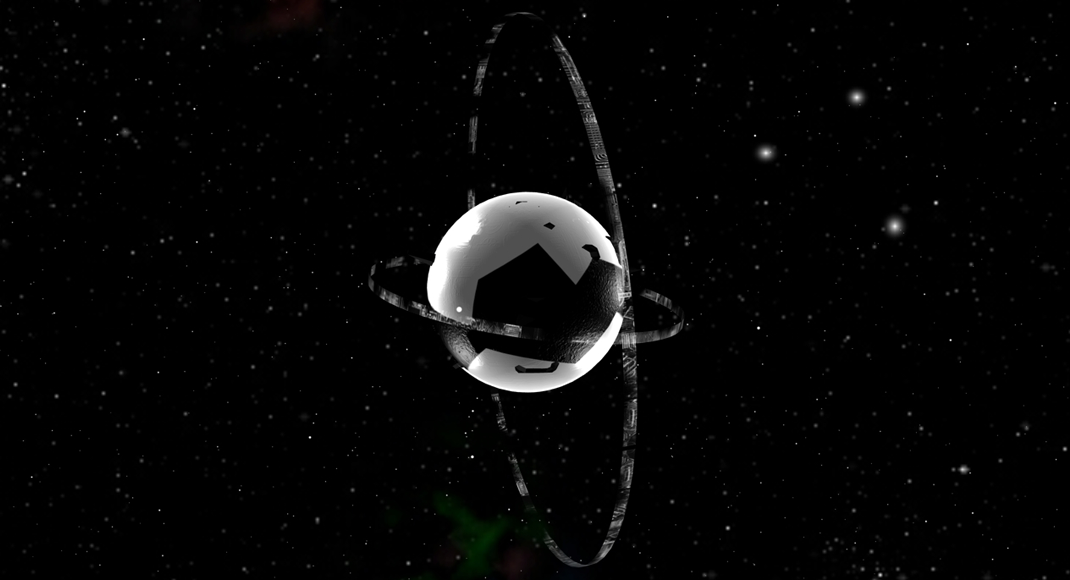
My first real webgl experiment using threejs. I’ve made some custom textures and will continue to mess around with this until I get something that is super weird and crazy.

DEMO

WebGL Skybox Texture Mapping

So more to come…on all shit webGL.

I’m just getting into this and I’d rather learn than blog, so I’ll come back with more info and tutorials later. Until then, i wont be posting much, just reminders for myself, which is how I’ve always treated this blog.

Tip of the day:

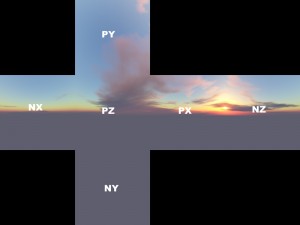
To map the textures properly, you need to know (px, py, pz, nx, ny, nz) – these are names that people name individual images in a cube map texture.

Here’s the layout:

That’s it for now

Every Chip Gets A Dip

Tostitos believes that no chip should ever be without dip. So for March 23, National Chip & Dip day, we decided to take that sentiment both very seriously and quite literally by giving everyone in America named Chip his (or her?) own free Tostitos dip. For real. All Chips have to do is visit EveryChipGetsADip.com, submit proof of their “chip-ness,” and get ready to receive the deliciousness. While supplies last, of course.

This project was built one week from conception to completion. It was meant to be a quick shot and was met with overwhelming success. We earned lots of media and gained a ton of traction with the “couponer” community, receiving over 14k submissions and changing what we thought was possible internally.

The Team

Kia handled the front end. Patrick produced the project.

My Role

I built the backend and the front end form validator. I also built the admin tool the allowed submissions to either be approved or denied.

Technologies

  • Server
    • NodeJS: app running on server to bother serve the site and the admin interface
    • MySQL: Amazom RDS instance to store the user information
    • Amazon S3 for image storage
    • Websockets: to sync all admin interfaces so each admin can receive realtime updates and work in parallel
  • Front end
    • JavaScript: form validation &  submission was done via Ajax


Importing Sub Projects in XCode 6

its been a while.

here’s the sitch.

You want to use a library like this: https://github.com/Nyx0uf/NYXImagesKit or this: https://github.com/square/SocketRocket but you dont know how to import it!

That’s because you need this: http://www.raywenderlich.com/41377/creating-a-static-library-in-ios-tutorial

Also, if you want to find the library and its not showing up you may have to do this: http://www.blog.montgomerie.net/easy-xcode-static-library-subprojects-and-submodules#Configure_the_app_target_to_use_the_static_library_s_headers_when_building and you may need to change the urls to something more appropriate like: “$(TARGET_BUILD_DIR)/include”

Just read about half way down the page where it says “Method 2: subprojects”. That ought to tell you everything you need to know.

super simps, cya

Is It White?

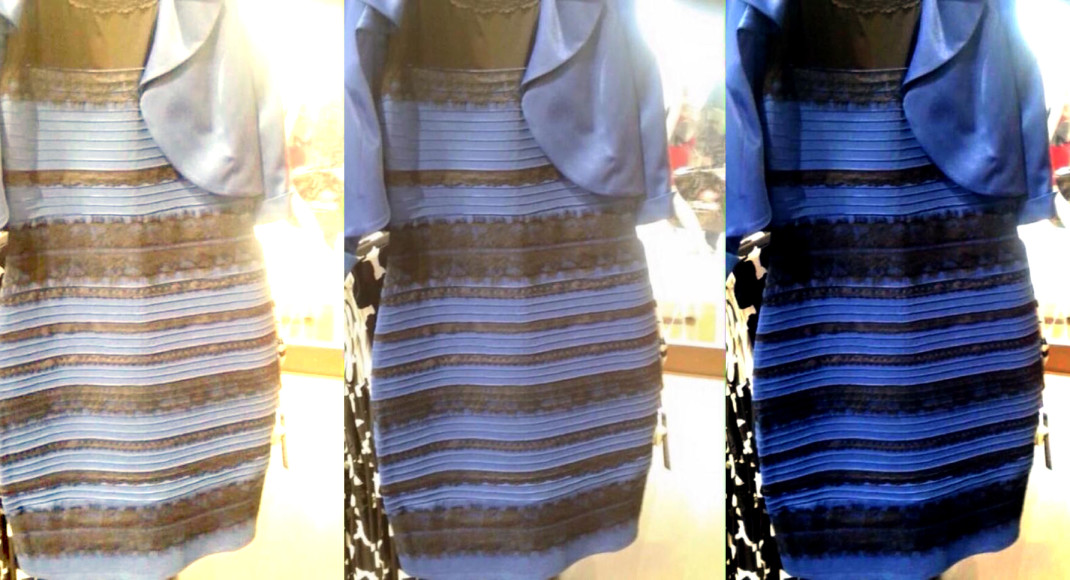
Remember the dress?

I give you http://isitwhite.com/

I had an idea to make a stupid website that was just white, and links back to the topic on reddit.

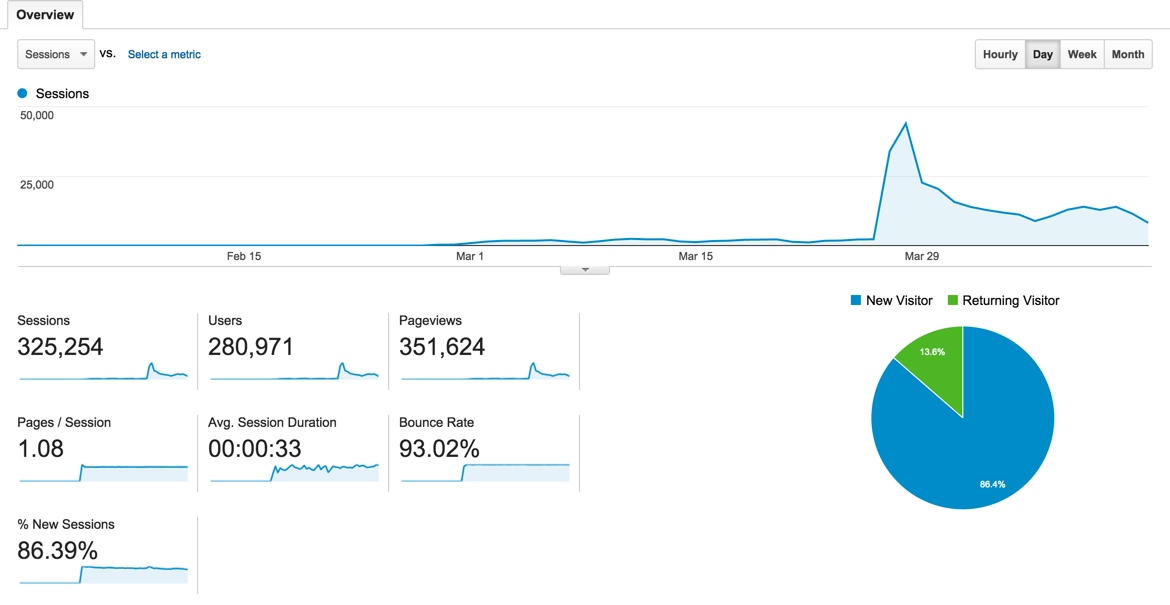
I bought the domain, put the site up in about 15 minutes and watched in awe as people started pouring in. To date I’ve had 280k users.

isitwhite-analytics

It was even listed on http://www.theuselessweb.com/

If that isn’t a lesson in quick shots, I don’t know what is!

Redirect port 80 to 8080 using iptables

on your pi or your linux installation, you should probably have something called iptables

sometimes you don’t want to run say, nodejs, as root. but you can’t make it listen to ports lower than 1024 without being root.

in that case just redirect all traffic on port 80 to something like 8080. then run your node app to listen to port 8080 and you are good to go!

[pastacode lang=”bash” message=”” highlight=”” provider=”manual”]

iptables -A INPUT -i eth0 -p tcp --dport 80 -j ACCEPT
iptables -A INPUT -i eth0 -p tcp --dport 8080 -j ACCEPT
iptables -A PREROUTING -t nat -i eth0 -p tcp --dport 80 -j REDIRECT --to-port 8080

[/pastacode]

Seagate Living Logo

Our agency was tasked with rebranding the identity of Seagate. The banner was “Creating space for the human experience.” We wanted to show our data as “living.”

Once our design team had the new mark, we “filled” it with data. In this case building a prototype from scratch that pulled information from instagram and realtime streaming data from twitter. The logo was then populated by tweets, instagram photos and later facebook information.

My Role

Prototype production and technical direction on the final product.

Technologies

I built the backend that provided Marpi with the information to populate his logo. The server was built on Amazon Ec2 running NodeJS with a connection to Amazon RDS for data storage.

Here’s a demo of the prototype in action:

Make a Glowing Ornament for the Holidays

haven’t posted in a while…not all that sorry…

Mom wanted an ornament for her gift so I decided to print one.

Need:

Assembly (general overview):

  1. Hollow out the ornament to make space for the electronics (available here: http://www.thingiverse.com/thing:623016)
  2. Print the piece, I made the ornament roughly 6 inches in diameter and could print the entire body in a single print (20-30 hours!)
  3. Assemble the electronics
  4. Insert electronics into the ornament and attach the battery

The electronics are assembled as such:
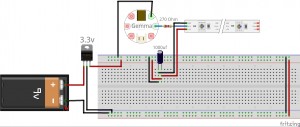
The idea is to put the capacitor as close the the led strip as possible to eliminate the possibility of a voltage spike that will fry your leds. Also, its just a good practice to add a resistor between the signal on the microcontroller and the leds. In this case it probably wont make a difference, but lets get in the habbit.

Basically, power feeds from the 9V power supply to the 3.3v linear regulator. The output of which is fed to the micro-controller and leds (with the addition of a capacitor across the 3.3V and GND wires). The signal for led control is generated by the gemma. All the grounds are connected and your are good to go!

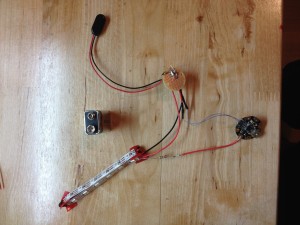
You should assemble these electronics similar to the picture show below. I arranged my led strip in a triangular fashion so it would fit snuggly in the ornament (about 6 inch diameter).
Insert the leds into the ornament:
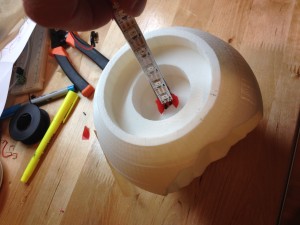
Super glue the top of the ornament on and you are good to power it up. The only thing you need to do is upload the sketch to the gemma. More can be found here on how to do it: https://learn.adafruit.com/introducing-gemma/about-the-bootloader. Basically, just plug in the mini usb, download adafruits version of arduino ide and select the gemma board and under “tools” => “programmer” => “USBTinyISP”. Then just make sure you hit the reset button so the red light is blinking and upload.

Below is the code im using for a cycle of colors:

#include <Adafruit_NeoPixel.h>

#define PIN 1

// Parameter 1 = number of pixels in strip
// Parameter 2 = pin number (most are valid)
// Parameter 3 = pixel type flags, add together as needed:
//   NEO_KHZ800  800 KHz bitstream (most NeoPixel products w/WS2812 LEDs)
//   NEO_KHZ400  400 KHz (classic 'v1' (not v2) FLORA pixels, WS2811 drivers)
//   NEO_GRB     Pixels are wired for GRB bitstream (most NeoPixel products)
//   NEO_RGB     Pixels are wired for RGB bitstream (v1 FLORA pixels, not v2)
Adafruit_NeoPixel strip = Adafruit_NeoPixel(18, PIN, NEO_GRB + NEO_KHZ800);

void setup() {
  strip.begin();
  strip.show(); // Initialize all pixels to 'off'
}

void loop() {
  // Some example procedures showing how to display to the pixels:
//  colorWipe(strip.Color(0, 0, 255), 3000); // Red
//  colorWipe(strip.Color(0, 255, 0), 50); // Green
//  colorWipe(strip.Color(0, 0, 255), 50); // Blue
  rainbow(1200);
  rainbowCycle(20);
}

// Fill the dots one after the other with a color
void colorWipe(uint32_t c, uint8_t wait) {
  for(uint16_t i=0; i<strip.numPixels(); i++) {
      strip.setPixelColor(i, c);
      strip.show();
      delay(wait);
  }
}

void rainbow(uint8_t wait) {
  uint16_t i, j;

  for(j=0; j<256; j++) {
    for(i=0; i<strip.numPixels(); i++) {
      strip.setPixelColor(i, BlueWheel((i+j) & 255));
    }
    strip.show();
    delay(wait);
  }
}

// Slightly different, this makes the rainbow equally distributed throughout
void rainbowCycle(uint8_t wait) {
  uint16_t i, j;

  for(j=0; j<256*5; j++) { // 5 cycles of all colors on wheel
    for(i=0; i< strip.numPixels(); i++) {
      strip.setPixelColor(i, Wheel(((i * 256 / strip.numPixels()) + j) & 255));
    }
    strip.show();
    delay(wait);
  }
}

// Input a value 0 to 255 to get a color value.
// The colours are a transition r - g - b - back to r.
uint32_t Wheel(byte WheelPos) {
  if(WheelPos < 85) {
   return strip.Color(WheelPos * 3, 255 - WheelPos * 3, 0);
  } else if(WheelPos < 170) {
   WheelPos -= 85;
   return strip.Color(255 - WheelPos * 3, 0, WheelPos * 3);
  } else {
   WheelPos -= 170;
   return strip.Color(0, WheelPos * 3, 255 - WheelPos * 3);
  }
}

uint32_t BlueWheel(byte WheelPos) {
  if(WheelPos < 85) {
   return strip.Color(WheelPos * 3, 0, 255 - WheelPos * 3);
  } else if(WheelPos < 170) {
   WheelPos -= 85;
   return strip.Color(255 - WheelPos * 3, 0, WheelPos * 3);
  } else {
   WheelPos -= 170;
   return strip.Color(WheelPos * 3, 0, 255 - WheelPos * 3);
  }
}

That’s it! You should have a printed ornament, assembled custom electronics and code to match! total work to assemble this is about 3 hours (not counting time to print).
Fritzing Etching

I’ll write more about this later, but a quick tip for tonight…

when you are printing pdfs for etching your circuits from fritzing, it will create a “something_top” and a “something_top_mirror” pdf. if you are surface mounting, you want the regular one, if you are using throughhole components, you want the mirror image. That way when you etch and flip your board over, you are mounting the components in the right place.

SMD = regular

through hole = mirror.pdf

That’s all!