Raspi As A Wifi Router

Tons of hacks going around these days about setting your raspberry pi as a wifi router. But the difficulty is, there’s no plug and play solution. It all depends on your wifi dongle, version of raspbian, etc.

Doing this with the intention of completing this article: http://www.makeuseof.com/tag/how-to-make-a-wifi-network-that-only-transmits-cat-pictures-with-a-raspberry-pi/

I’m gonna write about what worked for me. First off I’m using an edimax dongle. It’s cheap and easy, except they say you can’t become an access point with it.

Wrong.

Ok let’s get started. First off follow the directions here: http://www.makeuseof.com/tag/build-your-own-safeplug-tor-proxy-box/ until you get to the line where you actually test to see if it worked. this line:

sudo /usr/sbin/hostapd /etc/hostapd/hostapd.conf

It will fail, giving you an error about “nl80211”. That’s ok, we just don’t have the drivers we need for edimax. This is because they actually have a version of hostapd they want you to use instead. There’s a precompiled app here: http://www.daveconroy.com/turn-your-raspberry-pi-into-a-wifi-hotspot-with-edimax-nano-usb-ew-7811un-rtl8188cus-chipset/. Here’s what you do:

wget http://www.daveconroy.com/wp3/wp-content/uploads/2013/07/hostapd.zip
unzip hostapd.zip
sudo mv /usr/sbin/hostapd /usr/sbin/hostapd.bak
sudo mv hostapd /usr/sbin/hostapd.edimax
sudo ln -sf /usr/sbin/hostapd.edimax /usr/sbin/hostapd
sudo chown root.root /usr/sbin/hostapd
sudo chmod 755 /usr/sbin/hostapd

Now we have hostapd with the correct driver. Let’s update our hostapd config file:

sudo pico /etc/hostapd/hostapd.conf


Comment the old drive line and add in the new one, should look like this:

#driver=nl80211
driver=rtl871xdrv

Now restart your pi:

sudo reboot

When you get back in, let’s test the wifi before we add it to services:

sudo /usr/sbin/hostapd /etc/hostapd/hostapd.conf

If that worked, you’re all set, you should be able to connection to a network name “PiTest” or whatever you changed the ssid to be. If everything is grand, let’s make it permanent by adding to our services and start on boot.

sudo service hostapd start
sudo service isc-dhcp-server start
sudo update-rc.d hostapd enable
sudo update-rc.d isc-dhcp-server enable

I’ve also uploaded an exact copy of the pi image with this setup here: https://s3-us-west-2.amazonaws.com/iwearshorts-pi-images/pi-wifi.img

Just in case you don’t feel like mucking around with it… 🙂

The resources I used to get this going:

http://www.makeuseof.com/tag/build-your-own-safeplug-tor-proxy-box/

http://www.daveconroy.com/turn-your-raspberry-pi-into-a-wifi-hotspot-with-edimax-nano-usb-ew-7811un-rtl8188cus-chipset/

http://sirlagz.net/2013/02/10/how-to-use-the-raspberry-pi-as-a-wireless-access-pointrouter-part-3b/

http://www.raspberrypi.org/forums/viewtopic.php?f=36&t=16849

http://www.raspberrypi.org/forums/viewtopic.php?f=36&t=63048


How To Kill Your Errant Mongo Process

So you try to start mongo one morning and it wont start up? Giving some error about a lock file?

Well that’s because you didn’t shut your process down correctly silly!

It’s simple, check for a mongo process running first:

#mac
sudo lsof -i -P | grep 27017

#linux
sudo netstat -tulpn | grep :27017

Then, kill it:

# the process id
sudo kill 29618

Boom done.

Installed XCode into Custom Directory

You’ve installed xcode and developer tools, but you moved xcode into a custom directory (maybe you have multiple versions).

Then let’s say you install something like homebrew.

Homebrew will tell you that it installed and you should run “brew doctor” before you install anything.

So you do and get this error:

Warning: Git could not be found in your PATH.
Homebrew uses Git for several internal functions, and some formulae use Git
checkouts instead of stable tarballs. You may want to install Git:
  brew install git
xcrun: error: active developer path ("/Applications/xcode/6.0.1/Xcode.app/Contents/Developer") does not exist, use xcode-select to change

Well that’s because your system doesn’t know how to find the directory you just made and stuck your xcode app in (mine for example is buried in /Applications/xcode/6.1/Xcode.app)

That’s ok, see here: https://developer.apple.com/library/ios/technotes/tn2339/_index.html

Basically, you just need to run (this path is my installatino, adjust it accordingly…)

sudo xcode-select -switch /Applications/xcode/6.1/Xcode.app

To tell your system where to find things. Then everything runs perfectly, check it out!

brew doctor

Mysterious cURL SSL Error Mac OSX and XAMPP

And how to fix it…

Just got a fresh install from work. I open things up and try to install homebrew. I get the following error:

curl: (60) SSL certificate problem, verify that the CA cert is OK. Details:
error:14090086:SSL routines:SSL3_GET_SERVER_CERTIFICATE:certificate verify failed
More details here: http://curl.haxx.se/docs/sslcerts.html

curl performs SSL certificate verification by default, using a "bundle"
 of Certificate Authority (CA) public keys (CA certs). The default
 bundle is named curl-ca-bundle.crt; you can specify an alternate file
 using the --cacert option.
If this HTTPS server uses a certificate signed by a CA represented in
 the bundle, the certificate verification probably failed due to a
 problem with the certificate (it might be expired, or the name might
 not match the domain name in the URL).
If you'd like to turn off curl's verification of the certificate, use
 the -k (or --insecure) option.

So, the first thing I try to do is update my certs with safari. Basically, there’s a trick where you can visit a secure url in safari and if the cert is not added/trusted yet, safari will handle everything for you. Just visit the url, trust the cert in safari and it will take care of adding it to your certificates, root CA and all. Super simple, rather than copying and manually installing with http://curl.haxx.se/ca/cacert.pem

When I visit the page, safari acts like everthing is ok. This got me wondering…what’s in my $PATH?

echo $PATH

I see that I have “:/XAMPP/xamppfiles/bin:” which might not be what I want. Then where am I executing curl from?

which curl

There it is! My system is executing curl from within the XAMPP installation, which ships with an outdated set of ssl certs. So where is this being added to the path?

pico ~/.bash_profile

I had added a line “export $PATH:/XAMPP/xamppfiles/bin” for some reason. I removed it, restart terminal and run “which curl” again to see that now my system goes to the right place for curl (/usr/bin/curl).


Infiniti Shopping Cart

Infiniti asked our agency to participate in pitching some re-branding work. As a part of our pitch strategy we were tasked with coming up with ways in which Infiniti’s in-car technology could be applied to other areas of life. The idea was to show the usefulness of Infiniti’s technology through a series of clever stunts and installations. One such technology is their “intelligent brake assist” meant to help drivers avoid accidents by applying the brakes automatically if the car detects a collision is imminent.

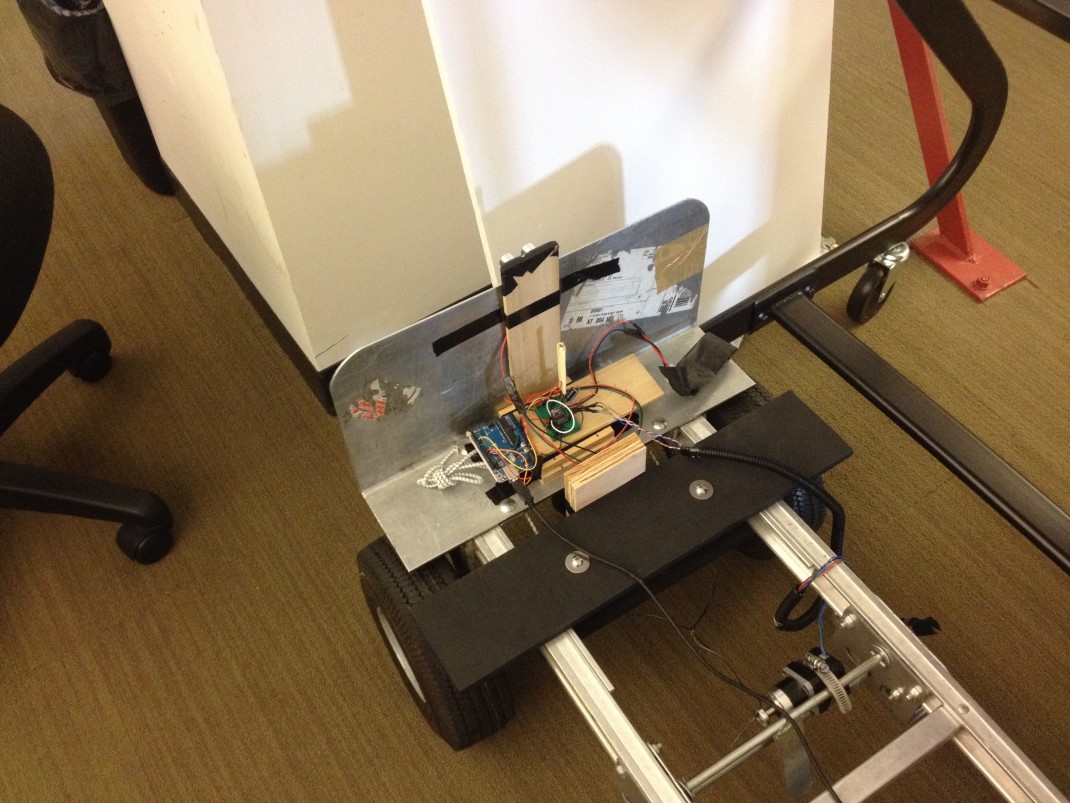
Enter, the shopping cart. Who hasn’t been “healed” by one of these things in the grocery store? So we built a shopping cart that can’t run into anything.

The Team

Patrick and I worked together to come up with several different interactive scenarios for several different Infiniti technologies. In the end we landed on our strongest idea, the brake assisted shopping cart. We worked simultaneously to produce a prototype that could be pitched in a client meeting as well as some demo carts that could be flown to Hong Kong for the final meeting.

My Role

Concept and production

Technologies

  • Arduino Uno with custom servo driving shield and power supply regulator
  • Servos with grippers
  • Pololu stepper motor driver
  • Parallax sonar range finder
  • duct tape

The Process

We started first with a cart from the mail room, producing a prototype with duct tape and bungee chords in under 24 hours.

big-cart


We refined our design until the pitch and ended up actually doing the presentation:

The client loved the idea. They requested that we bring the prototypes to Hong Kong so the rest of the team could see. So we produced two mini version of the idea (always good to have a backup with pitches).

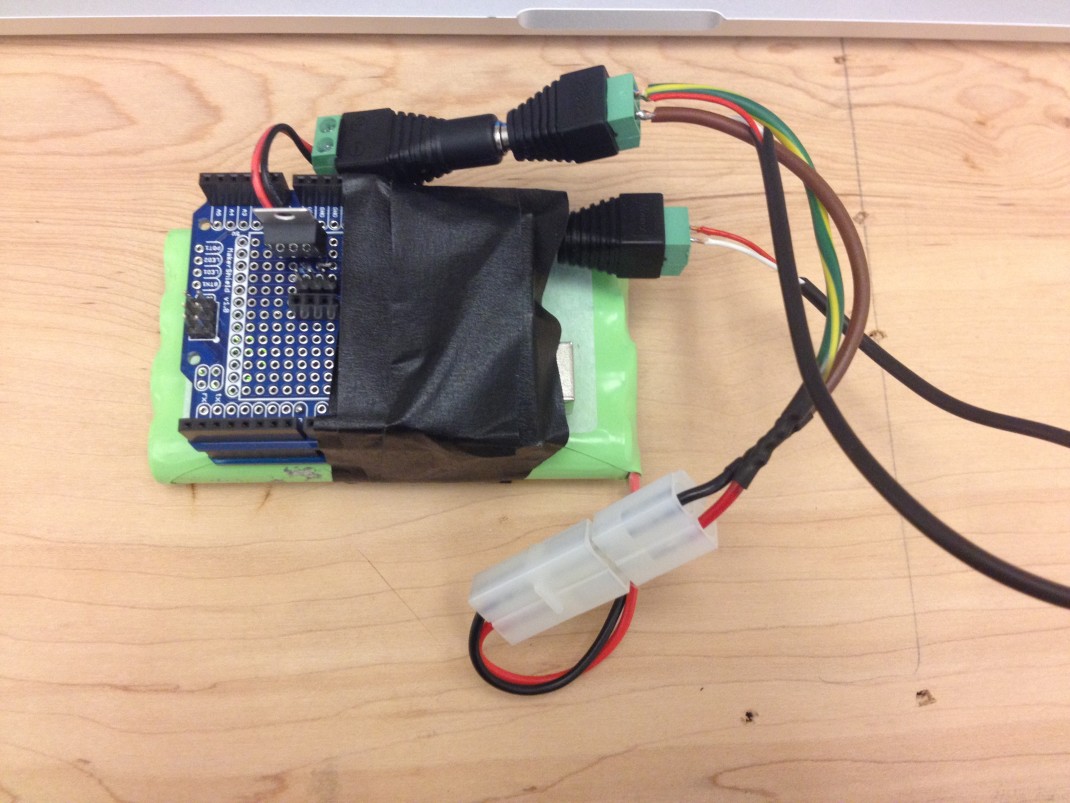
We started by make a modular pack that could fit inside the shopping cart’s shell:

modularpack

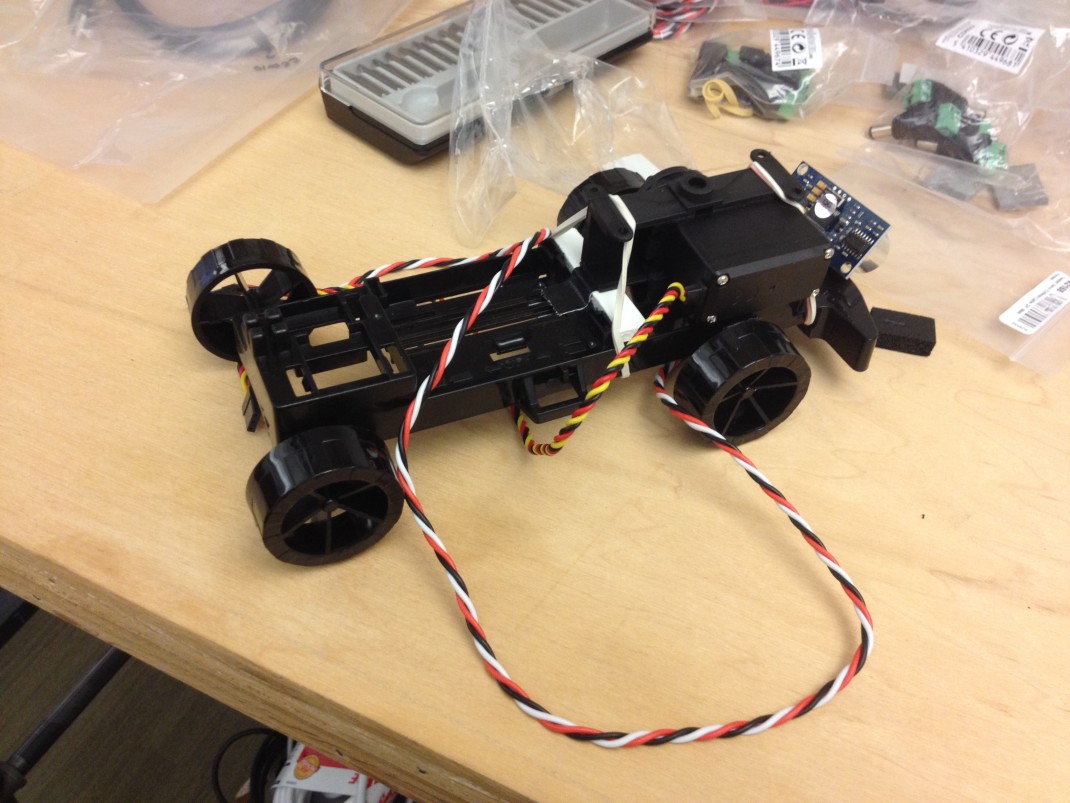
We then removed the stepper motor braking system and designed a new system that included a single servo with a gripper arm that clamps onto the axel shaft of the cart.

base

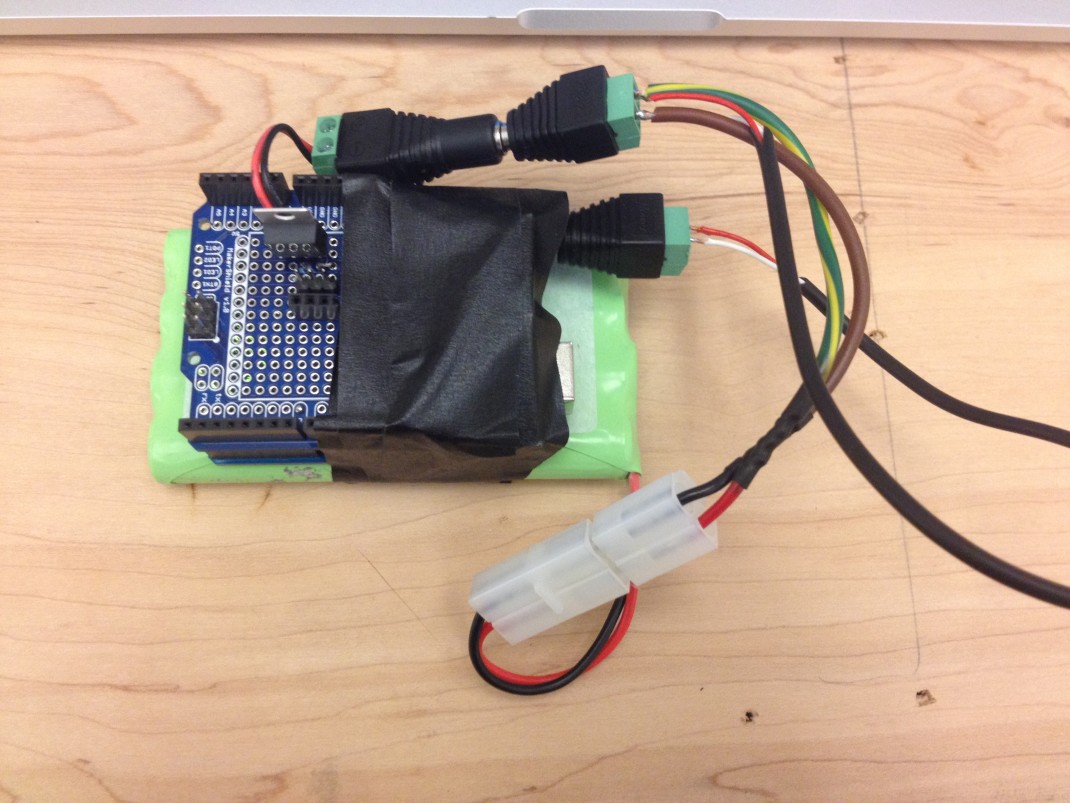
and the pack:

modularpack

Here I am testing the (almost finished) prototype:


Can’t Boot Ubuntu on Macbook Pro – Fuzzy Screen

You try to boot ubuntu, but it loads with a corrupted screen and you can’t see any options…

Chances are you are trying to run the gui on some hardware that isn’t working correctly. No need to fear.

If you are booting with grub, select the option to “Install Ubuntu” and press whatever key is designated to edit the command. In my case I typed “e”.

Once you see the edit screen, make sure you add the option “nomodeset” wherever you see:

“quiet splash”

more about it here: http://ubuntuforums.org/showthread.php?t=1613132

That’s it. Boot it and it should run.

NOTE: You will also need to set this permanantly in your boot config if you don’t want to see the fuzzy screen everytime…read the stuff at the link.

Installing Turtlebot and ROS On Your Mac

I want to set up my workstation on my mac so I can teleop turtlebot.

To do that, I need to first install some things. Get homebrew installed and follow the instructions here: http://wiki.ros.org/groovy/Installation/OSX/Homebrew/Source

A couple things to note:

Once you tap ros/groovy, you will end up with a warning. Follow the instructions and enter the command:

brew install ros/groovy/icon-naming-utils

Also once your tap osrf/simulation you will end up with another warning, enter the following:

brew install osrf/simulation/protobuf

To use rosdep, you will need to start the process:

sudo rosdep init

You might have trouble with the following command: “./src/catkin/bin/catkin_make_isolated –install -DCMAKE_BUILD_TYPE=Release”. If you do, and you see something talking about “py_em” just run the following:

sudo pip install -U EmPy

To use the things installed from these packages, it’s important to source them. If you are cd’d into ~/ros_catkin then just do:

source ~/ros_catkin_ws/install_isolated/setup.bash

Update:

meh…this might help someone out there, but I wasn’t able to complete the installation this way…guess I just be install ubuntu on another machine…

Install Turtlebot Dashboard On Your BananaPi

Got a banana pi. Like it more than raspberrypi. wont go into details, but it’s faster, quadcore, has more ram, more GPIO pins and an onboard infrared sensor. Basically, it’s better, trust me. Oh and you can install a flavor of raspbian on it, just suited to banana pi. NOTE: if you try to install regular raspbian, you wont see video from hdmi, you need the bananapi raspbian distro for that.

But…

Now I want to install ros and specifically turtlebot packages on my banana pi. but the packages don’t exist sometimes, like the turtlebot dashboard…

first off, your going to get the packages from here: https://github.com/turtlebot/turtlebot_viz

enter these commands on your pi to get going…

First make sure you’ve installed the basic ros platform: http://wiki.ros.org/groovy/Installation/Raspbian

sudo sh -c 'echo "deb http://64.91.227.57/repos/rospbian wheezy main" > /etc/apt/sources.list.d/rospbian.list'
wget http://64.91.227.57/repos/rospbian.key -O - | sudo apt-key add -
sudo apt-get update
sudo apt-get install ros-groovy-ros-comm
echo "source /opt/ros/groovy/setup.bash" >> ~/.bashrc
. ~/.bashrc
roscore

Once you have it installed, you will install packages from source:

echo $ROS_PACKAGE_PATH
cd /opt/ros/groovy/stacks
sudo git clone https://github.com/turtlebot/turtlebot_viz.git
cd turtlebot_viz/turtlebot_viz
rosmake -a turtlebot_dashboard

Boom, do that with all the packages you want and you should be good to go