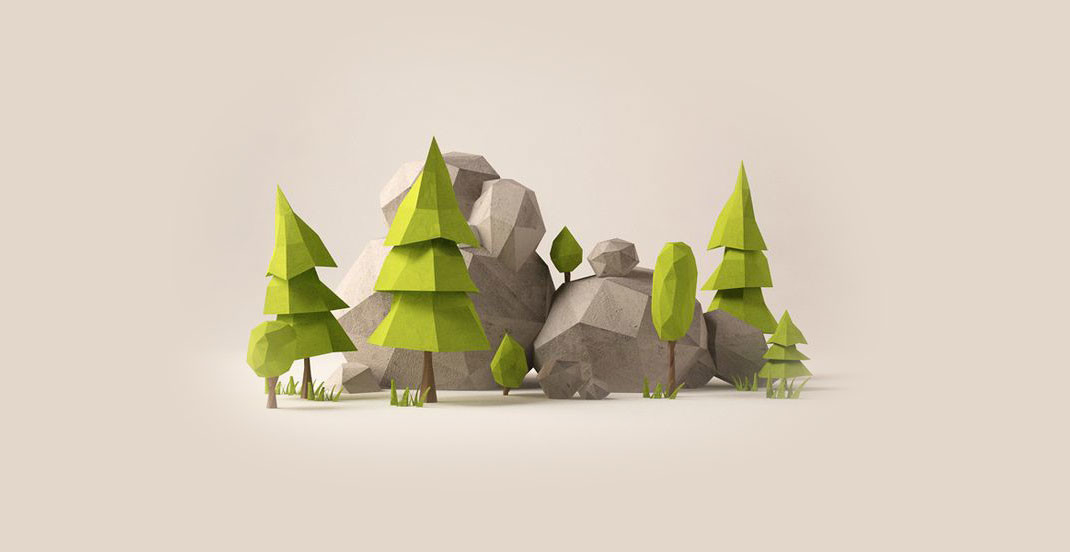
Sometimes I will use transparency on a blender texture only to find the preview in blender doesn’t show it. Below I’ve written a bit about how to get your transparency to show up. You will need to map UV’s to do this.
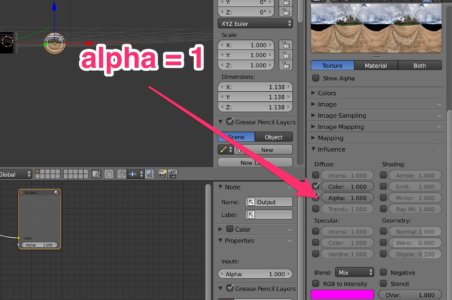
If you want show transparency on a blender texture and it’s not showing up when you set the view mode to “texture” then you need to do this:
Once your UVs are mapped, do the following to preview transparency in blender.
In the video below I show how to assign more than one texture to an object in blender. This process is useful if you going to use transparency on your objects and need to have multiple layers to create an effect. It can also be useful later if you’re doing work with blending texture programatically or if your using a single texture for visual elements and encoding information into a texture for use in something like webGL and GLSL.
This brings us to another toping which could be a good excuse for a video in the future. If you’re looking to user a bunch of contextual data in GLSL, there currently isn’t a good way to include dynamic data. It’s not like you could just make a huge array of data and pass it in a variable. So often times, people will encode their data into the rgba values of a bitmap image. This process involves bitshifting and some more low level details that are beyond the scope of this post.
Check out the video below if you’re looking to add multiple textures to an object in blender.
In the following video I show how to export textures/meshes from blender into the new(ish) gltf format. This is a binary format that contains the mesh and images in a very small file size which works well for exporting to webGL contexts. It’s sort of the new collada exporter and very easy to use with libraries such as threejs. As of now the exporter doesn’t support the more advanced features but will export meshes, textures, cameras and animations.
In the following video I show how to quicky texture (and preview) a mesh object with bump maps and normal maps in order to give your 3d objects more realism and “pop”. Basically, the issue with a flattened texture on a 3d object is the complexity. To the human eye, inconsistencies and defects make something look more “real”. Sometimes the style of your project will require a gently shaded “paper like” feel to it. In which case it’s ok to have flattened textures and colors.
Other times you will want something to feel more like it has depth and exists in the real world. An easy way to produce this effect often times is to give something a bumpy feel which can be done through normal/bump maps. In effect it’s just another texture being rendered on your mesh, but instead of telling the renderer what colors to emit, the bump map tells the renderer how the light should bound off things, producing the desired “bumpy” effect. There’s not actual geometry at play here which makes things cheaper in terms of rendering while producing a realistic surface. Bump maps are used extensively in gaming to produce realistic effects without costing the rendering engine a whole lot of compute time.
Check out the video below to see how one might add this effect to a mesh object.
